
Dressing the loom - From Warp to Weave
1 OCTOBER 2025
Dressing the loom is the foundation of every weaving. It’s a slow, careful process that prepares the warp — the vertical threads — for the weaving to come. This stage determines the structure, rhythm, and integrity of the final textile.
In this post, I’ll take you through the full process in three parts: measuring, winding, and threading the warp.
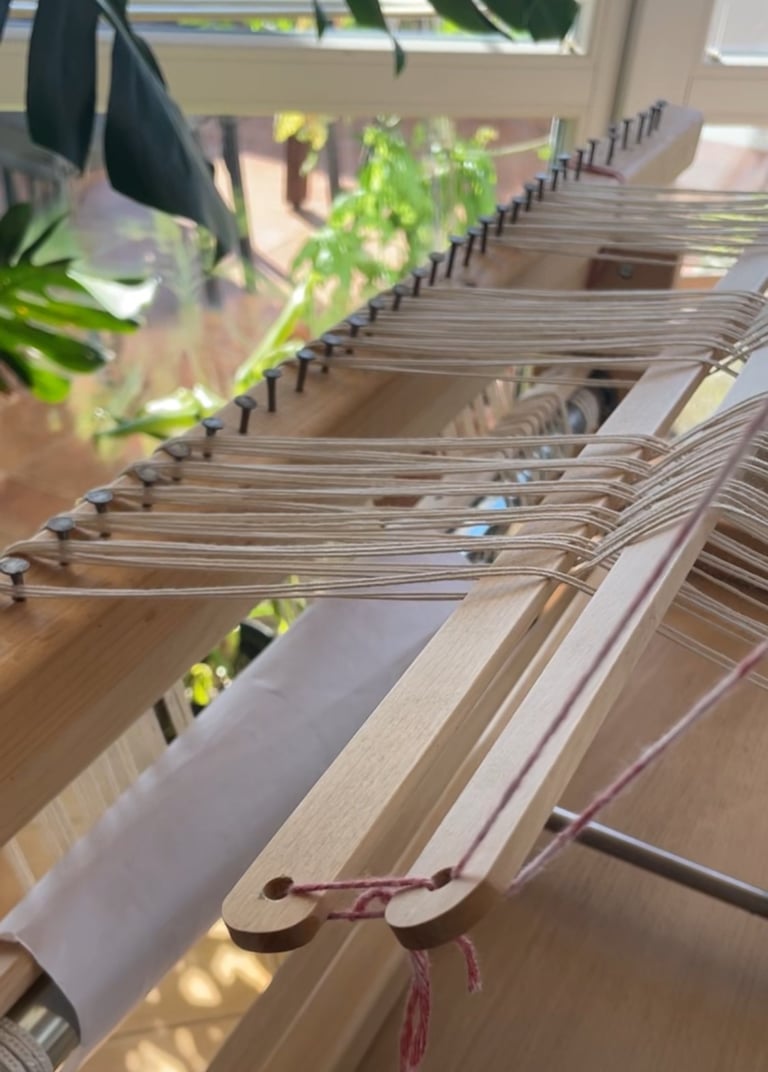
Before any weaving can begin, the loom must be dressed. The first step is warping — measuring the warp threads using a warping board with pegs spaced 90 cm apart. Each thread has a starting point on the left corner, it makes a cross and is wound until desired length and then back up again repeating the path taken in the beginning.
Making the cross is essential because it keeps the threads in order and prevents them from tangling later.

The yarn is wound back and forth between the pegs until the desired number of warp threads is reached — calculated based on the weaving width and the density of threads per centimeter.
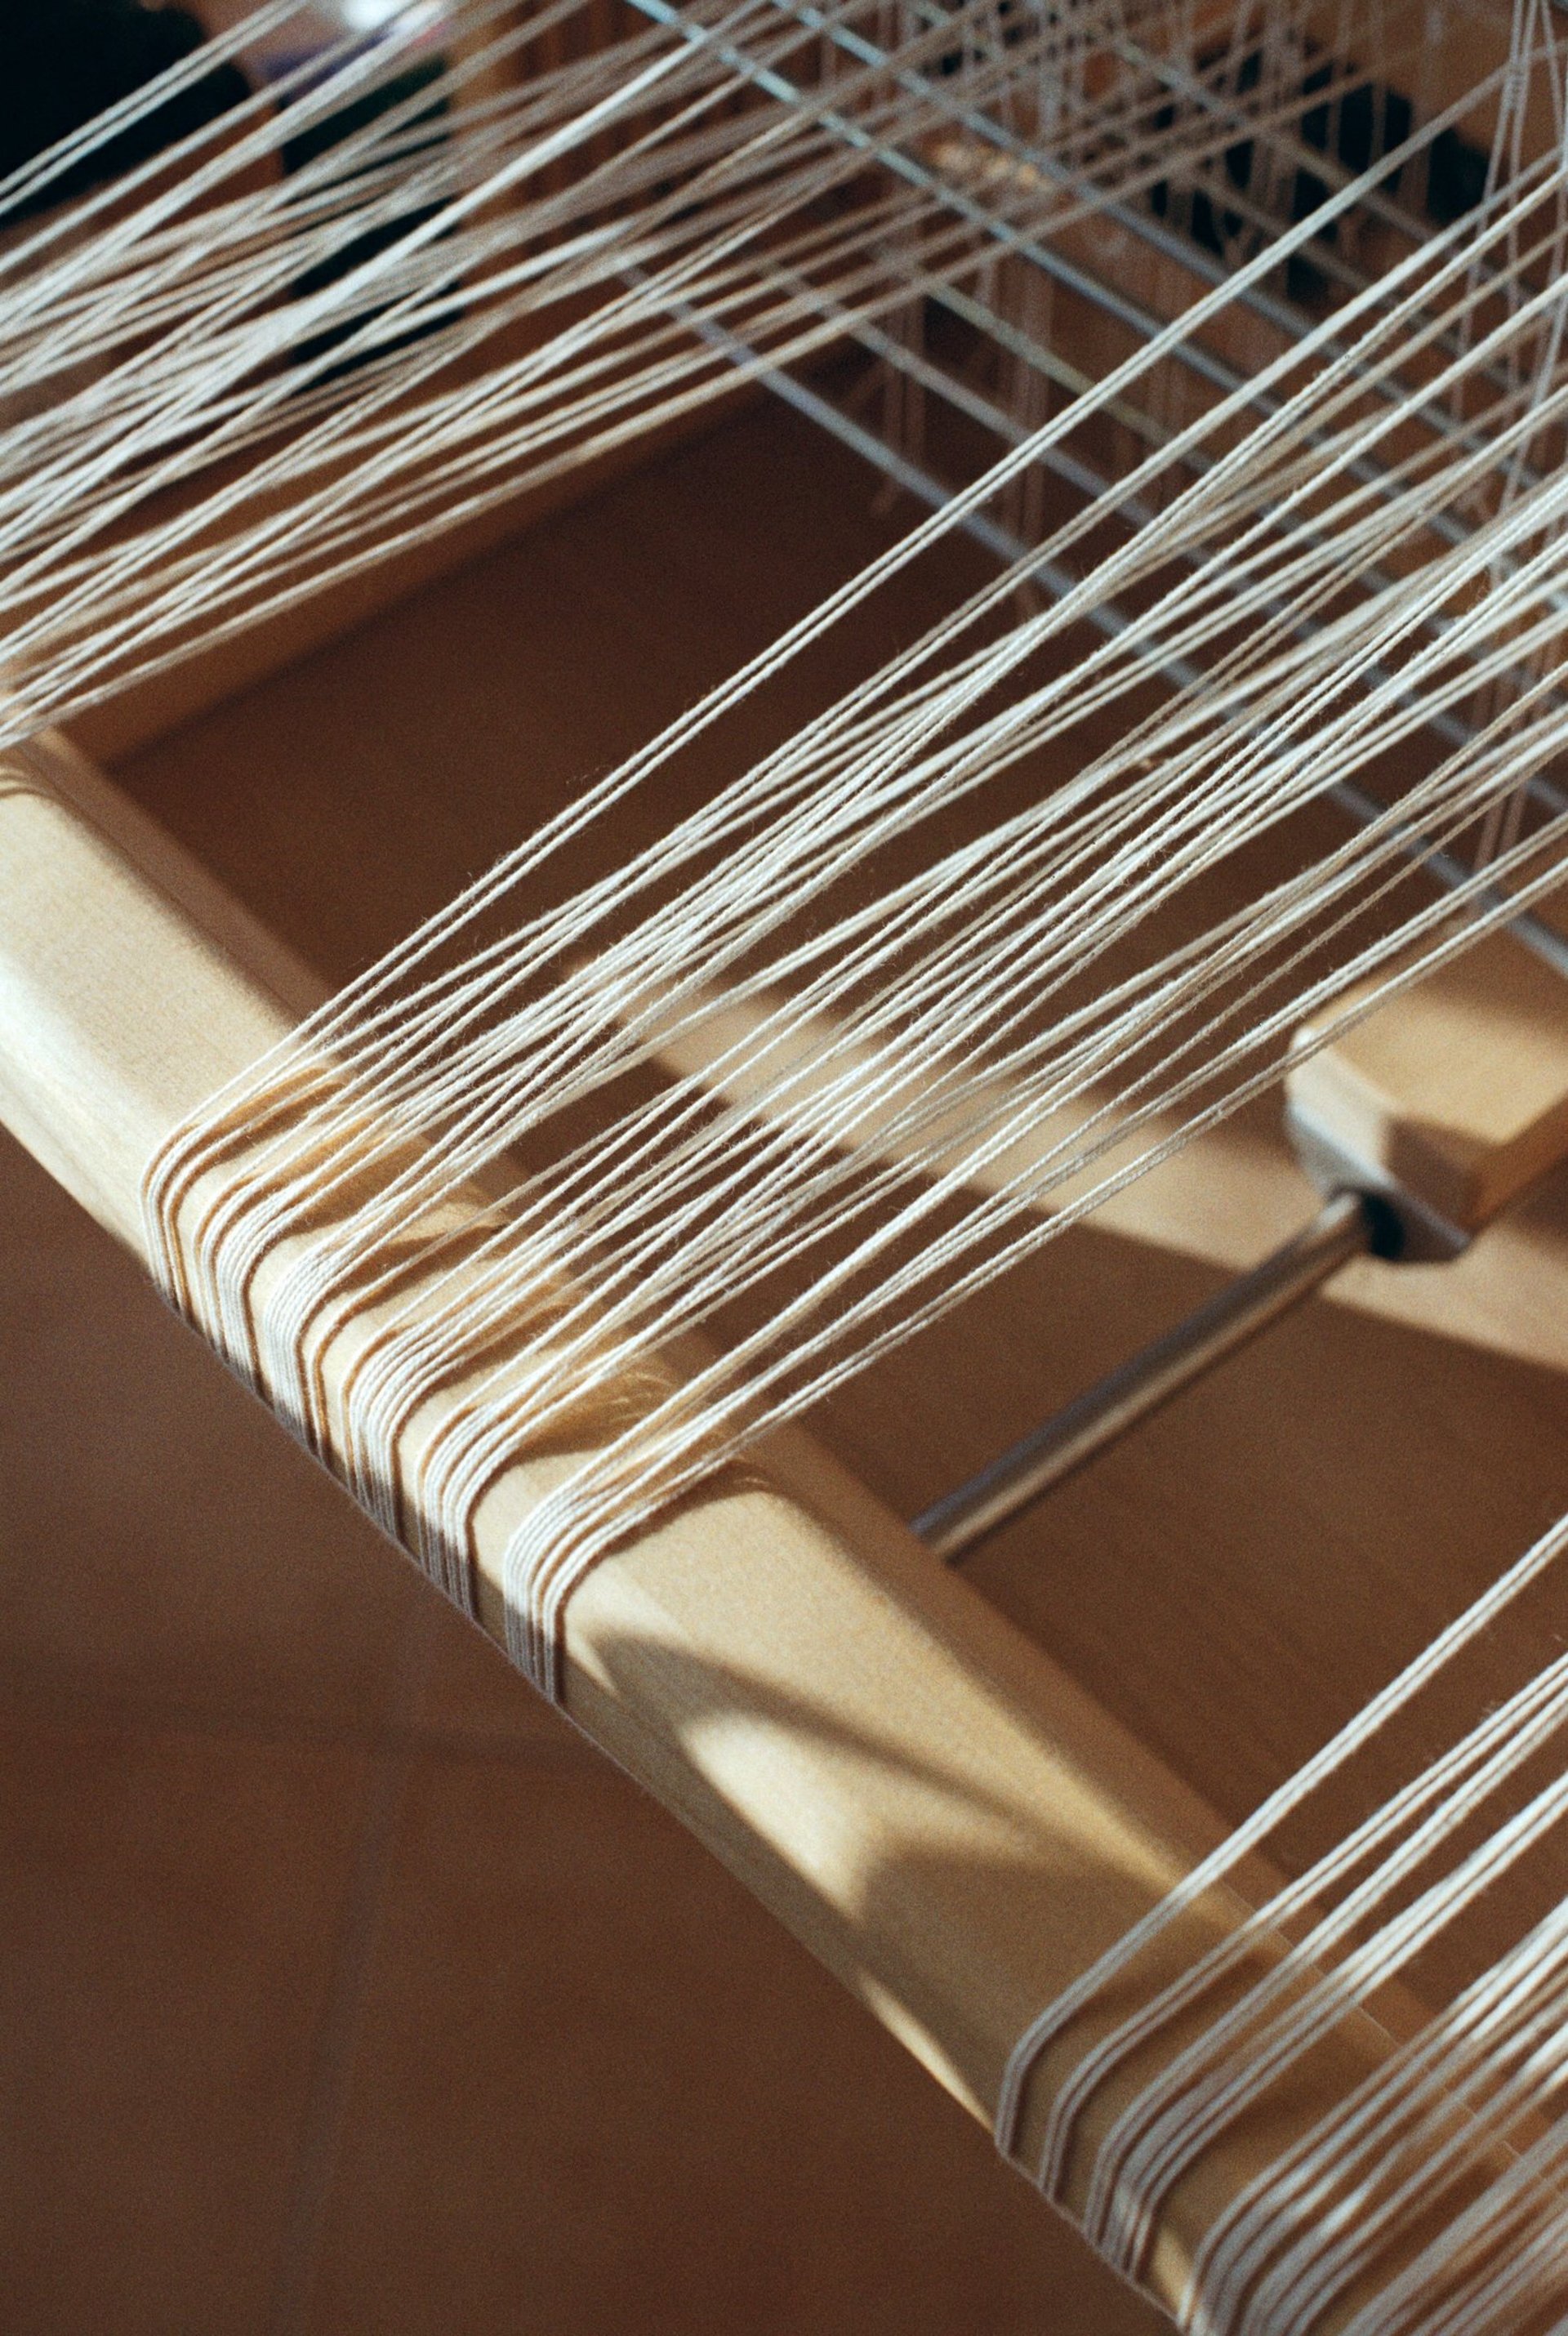
Once the warping is complete, it’s secured at three points — the beginning, the cross, and the end — before being removed from the board by looping it onto itself. The warp is then attached to the back rod of the loom, ready for the next stage.
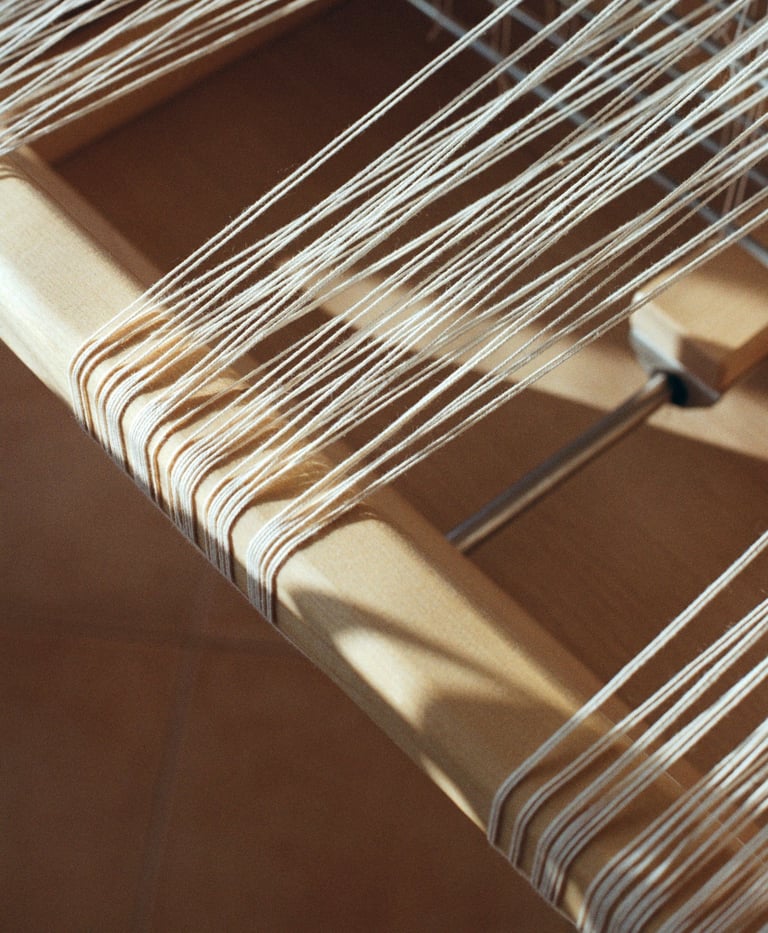
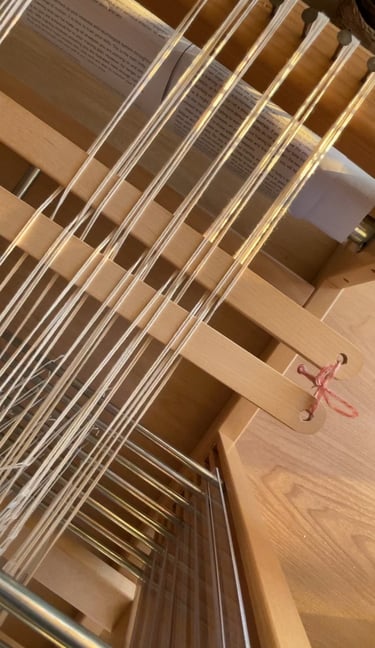
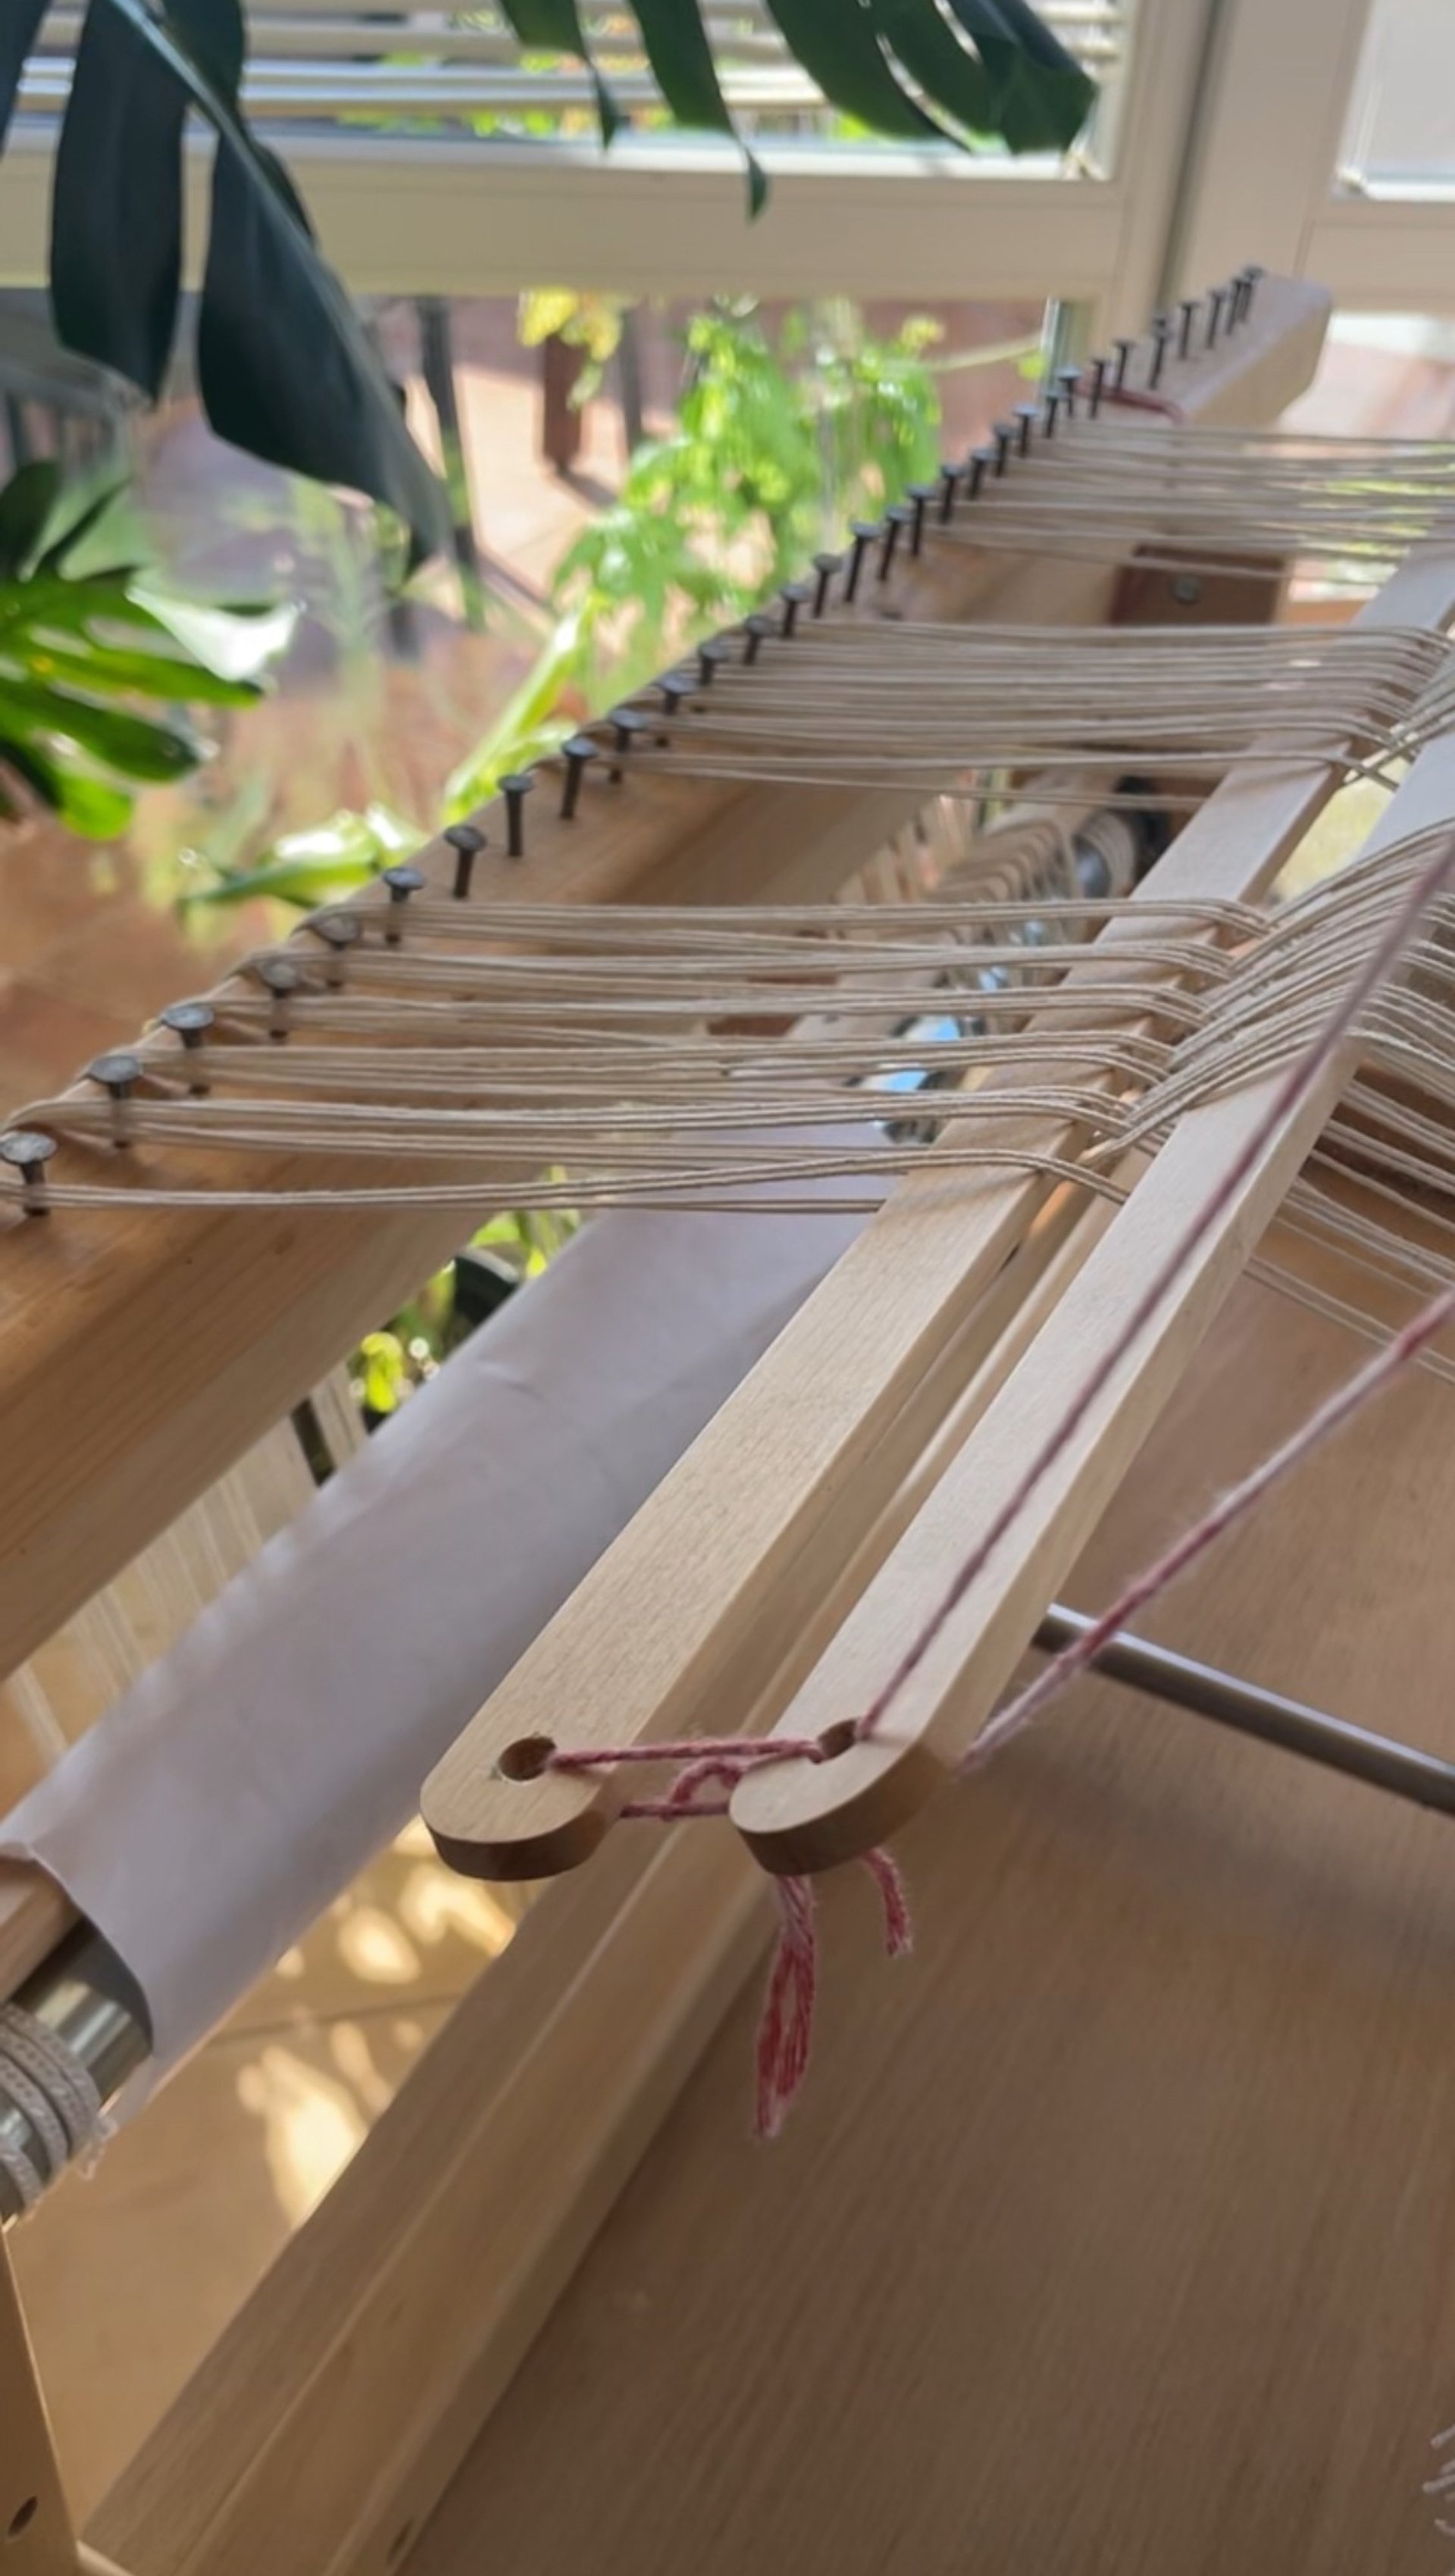
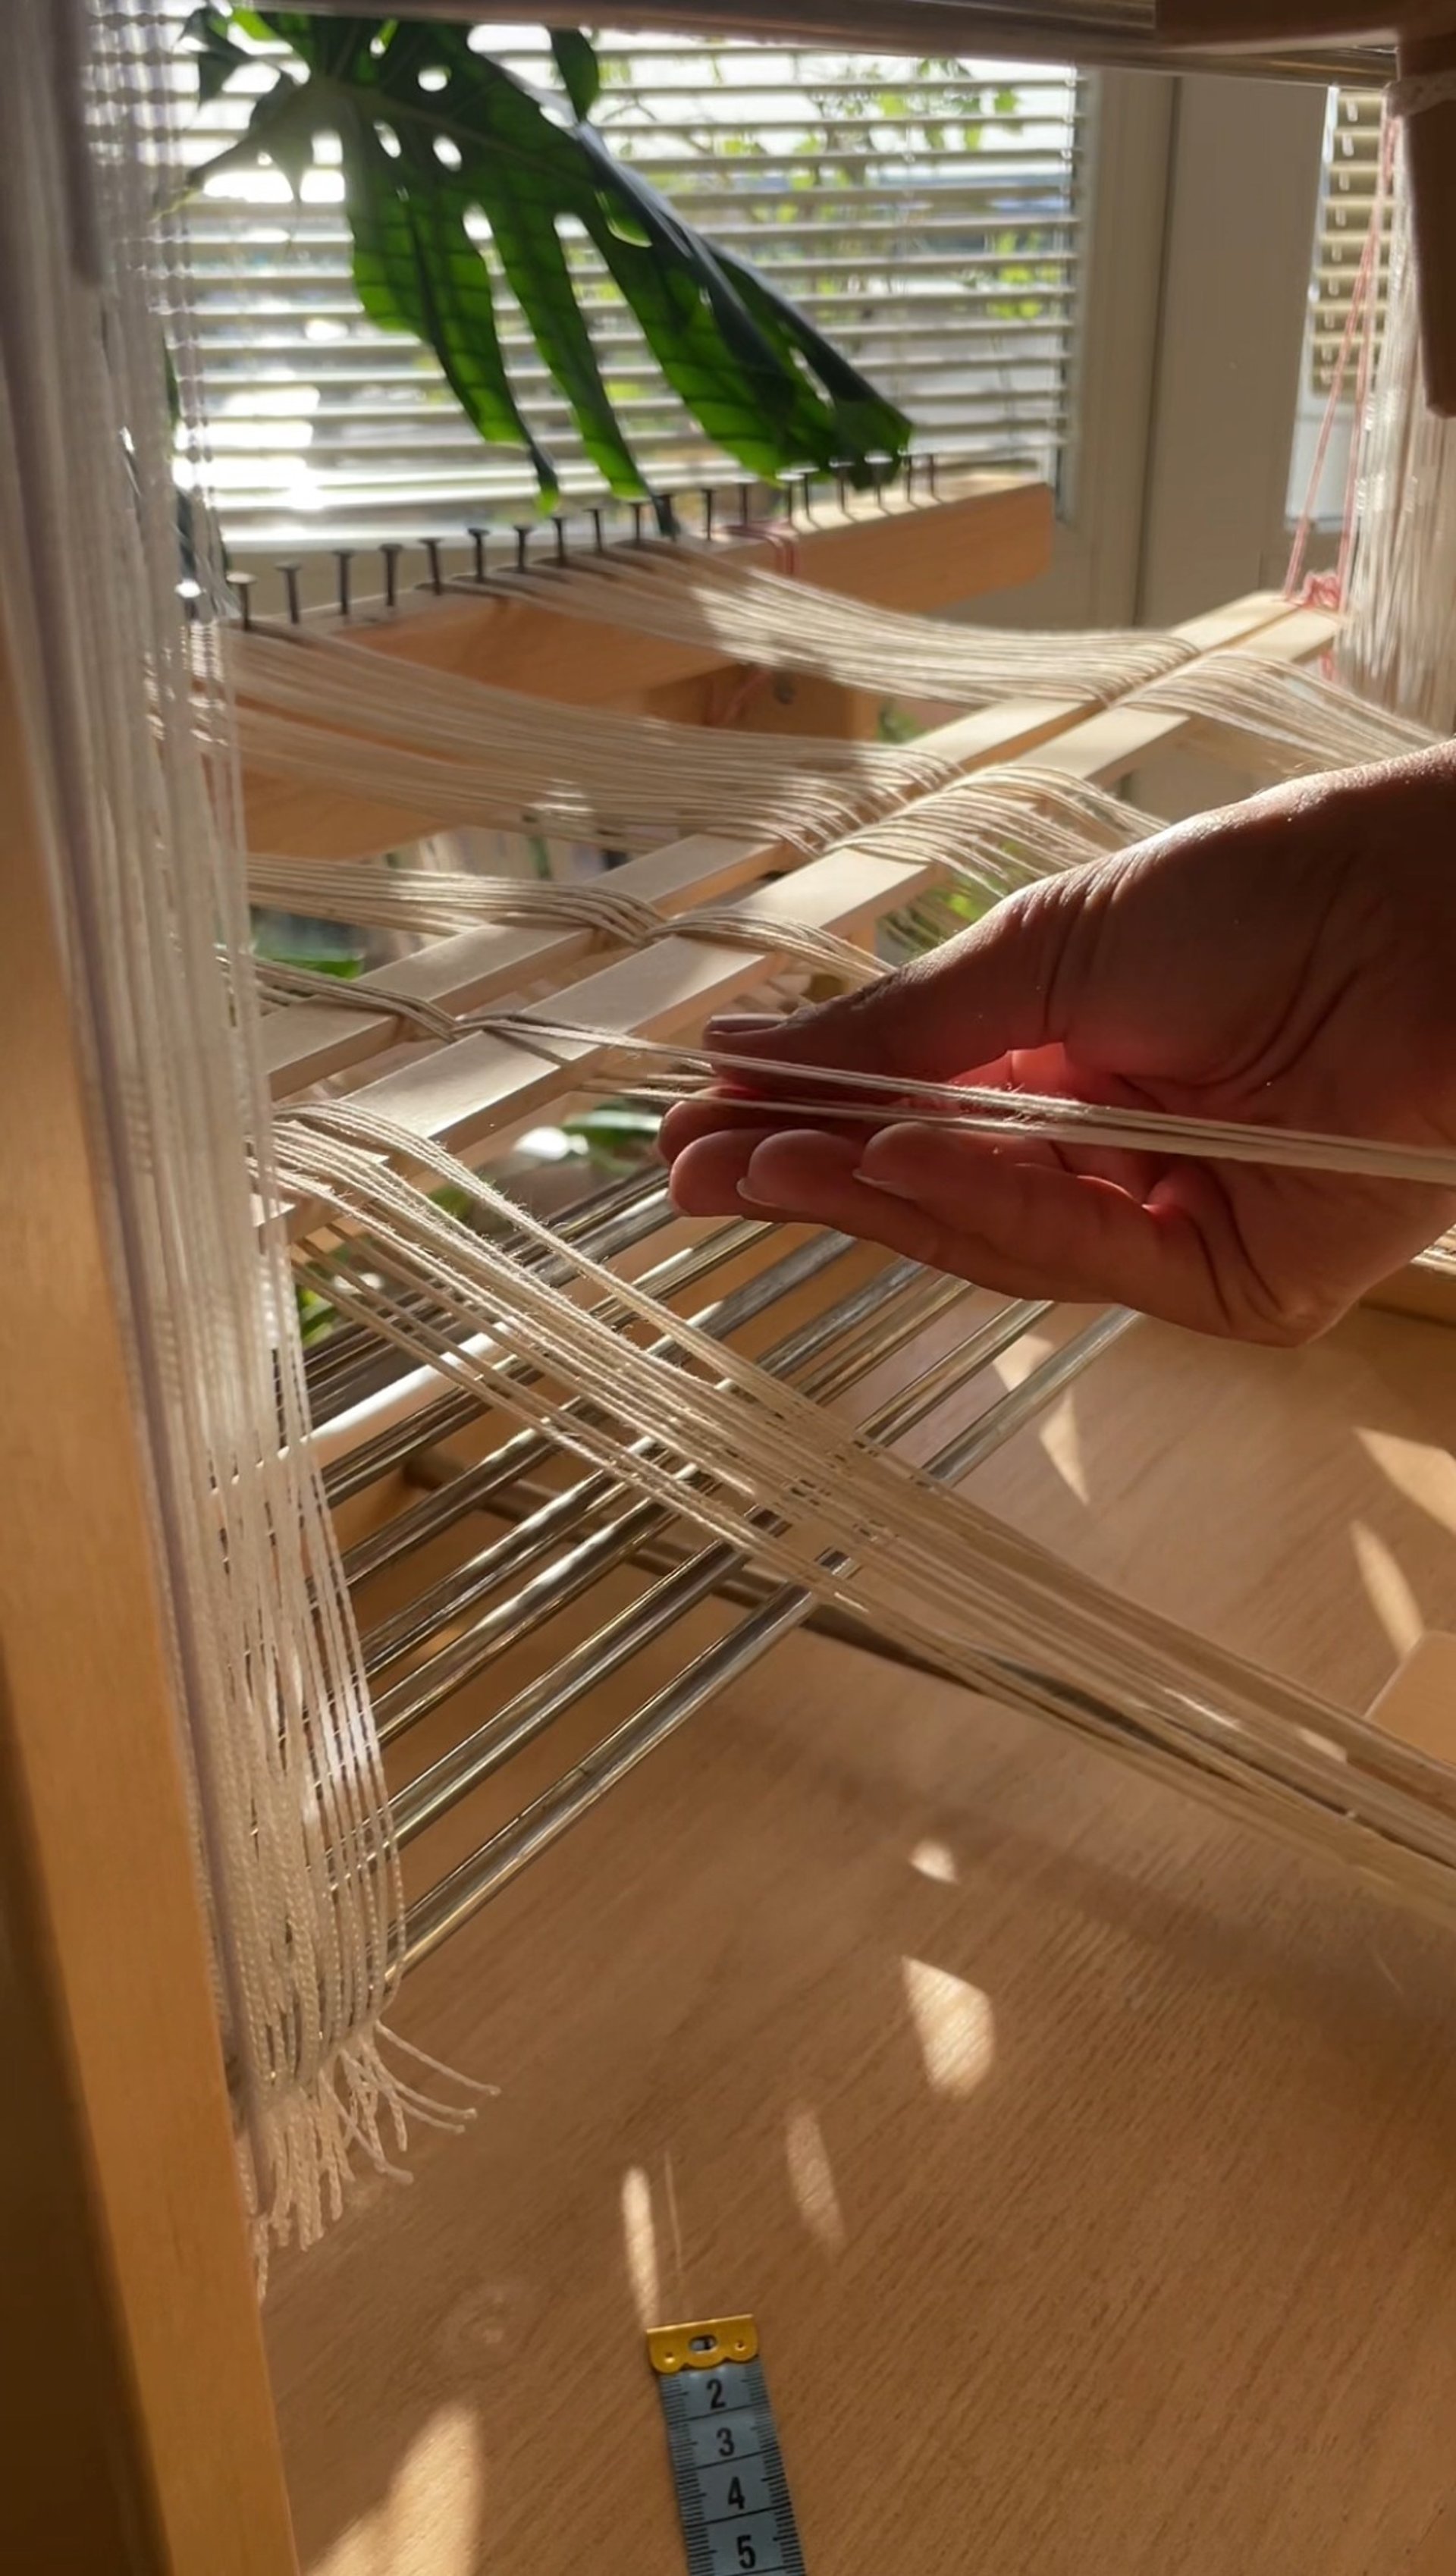
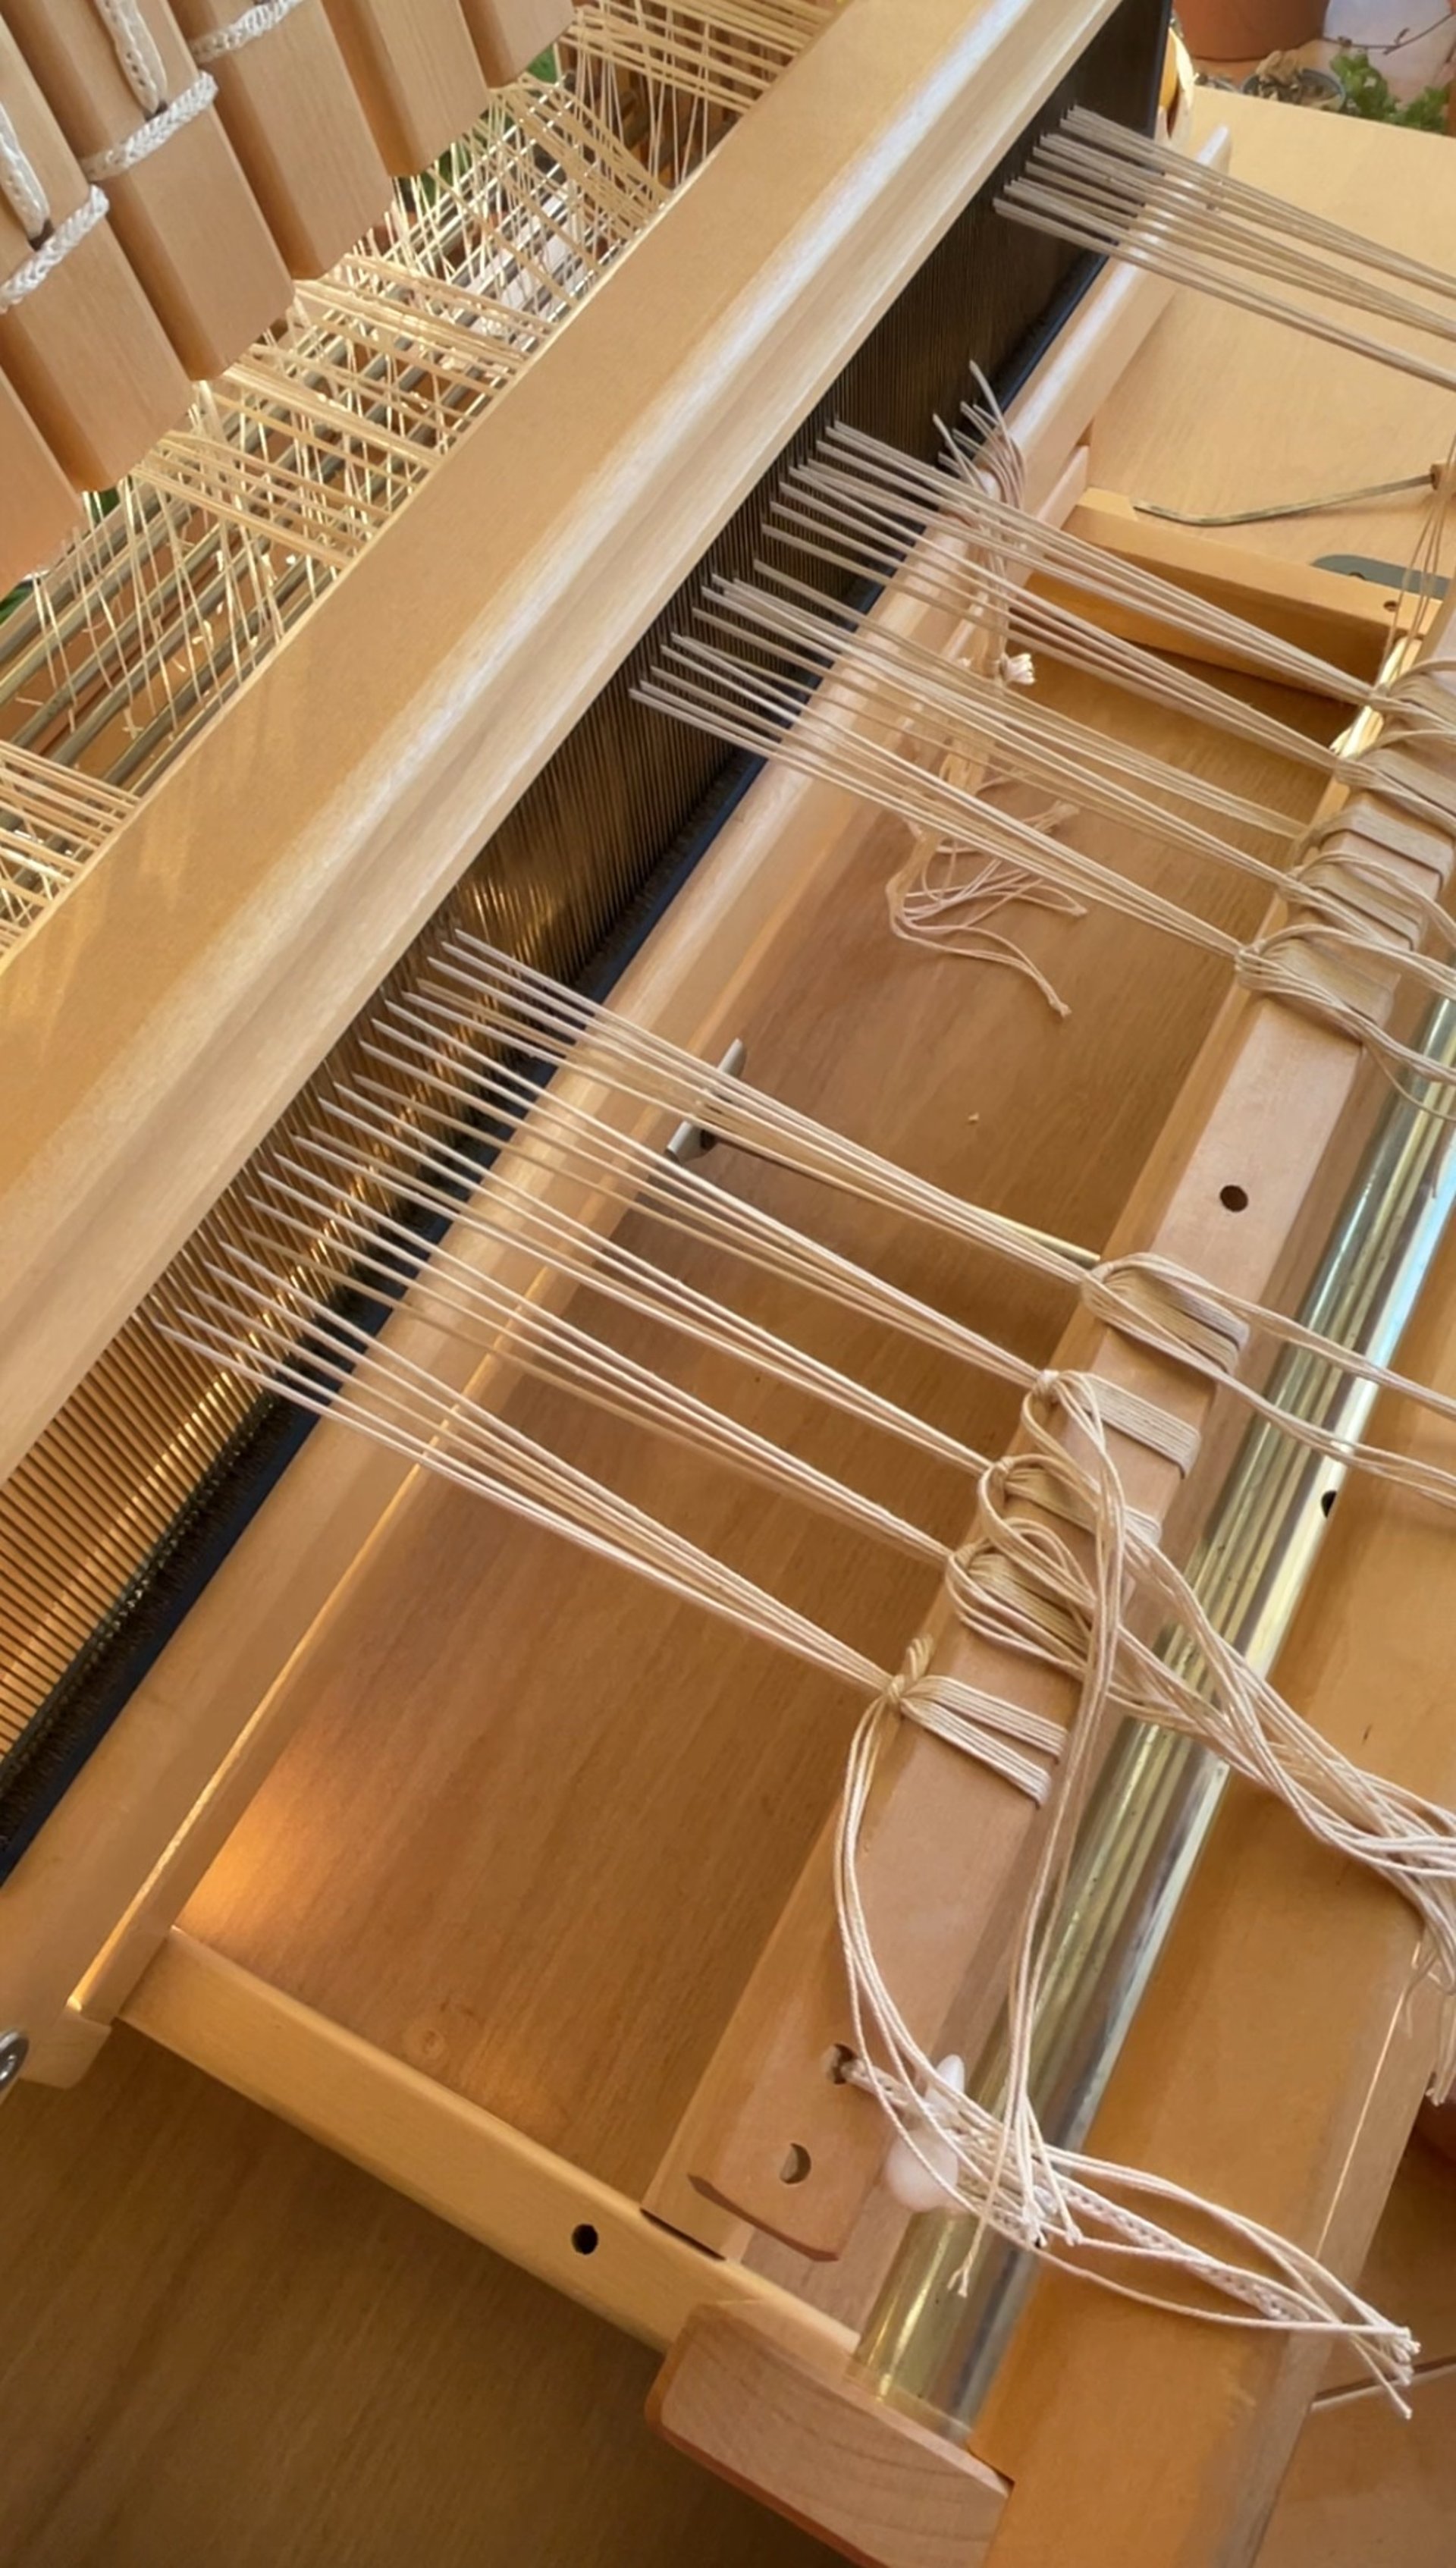
With the warp attached to the loom, the next step is beaming — winding the warp threads evenly tensioned onto the back beam.
The warp is divided into groups using a raddle, which has slots spaced every 2 cm, and the lease sticks that hold the cross in place. These tools work together to distribute the warp evenly across the loom’s width while beaming.
Not to get confused by the picture - for this example I dressed the loom with three same warps distanced 4 cm apart so I can weave more samples at the same time.
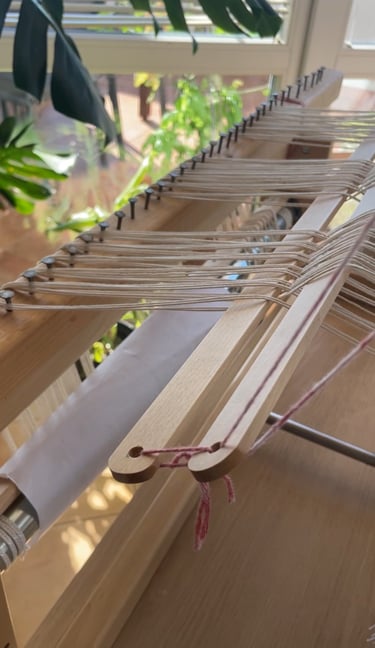
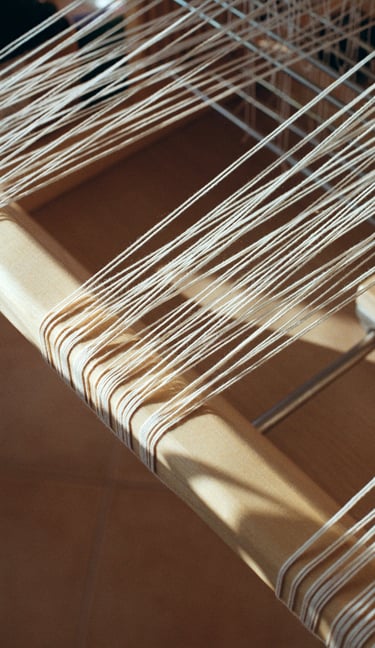
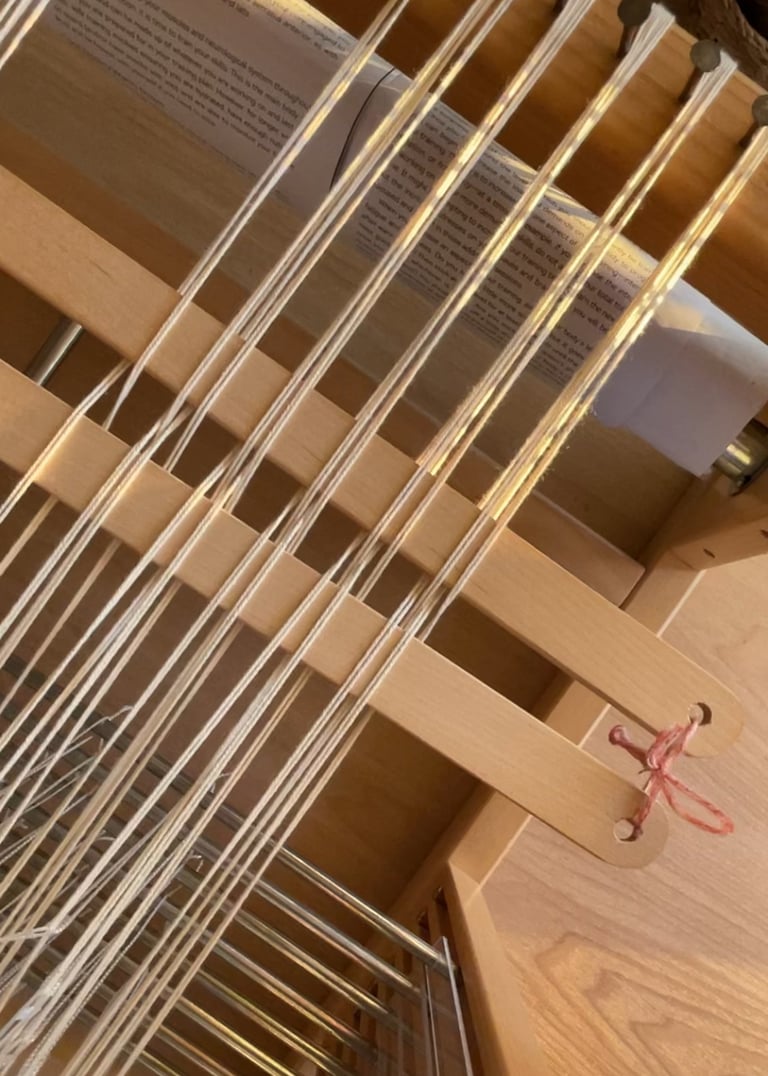
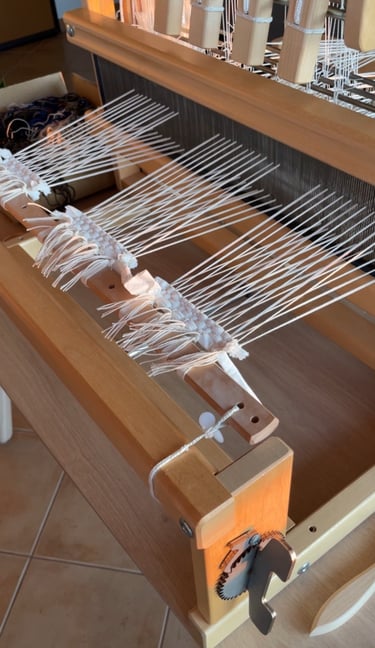
Since I often work alone, I use a method called “tug and pull” to keep the tension even. After tensioning across the warp, I insert paper between the layers to keep the threads separated and prevent tangling. Then I wind on two or three rotations of the warp and repeat the process until all the threads are neatly wound on.
Traditionally, this step is done by two people — one maintaining tension and the other winding — but it can be done solo with patience and rhythm.

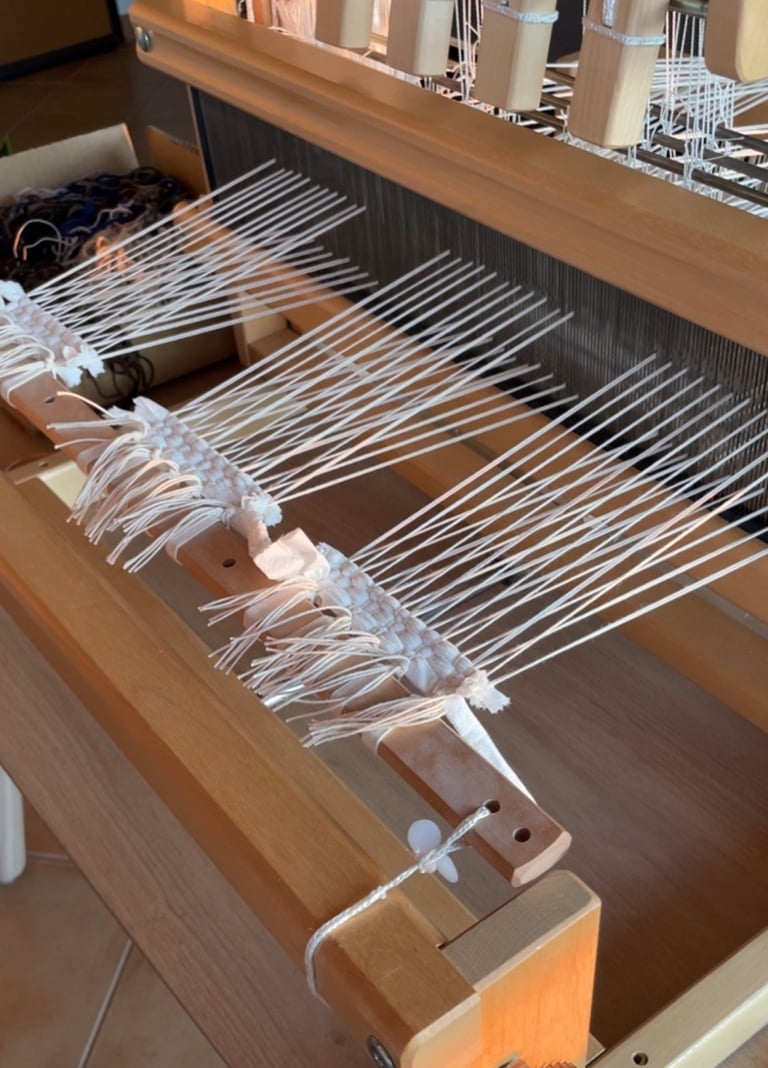
Once the warp is fully wound, it’s time for threading and tying on — the final stages before weaving begins.
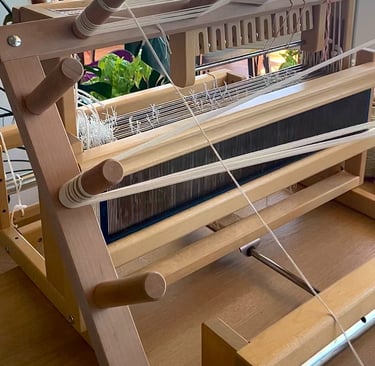
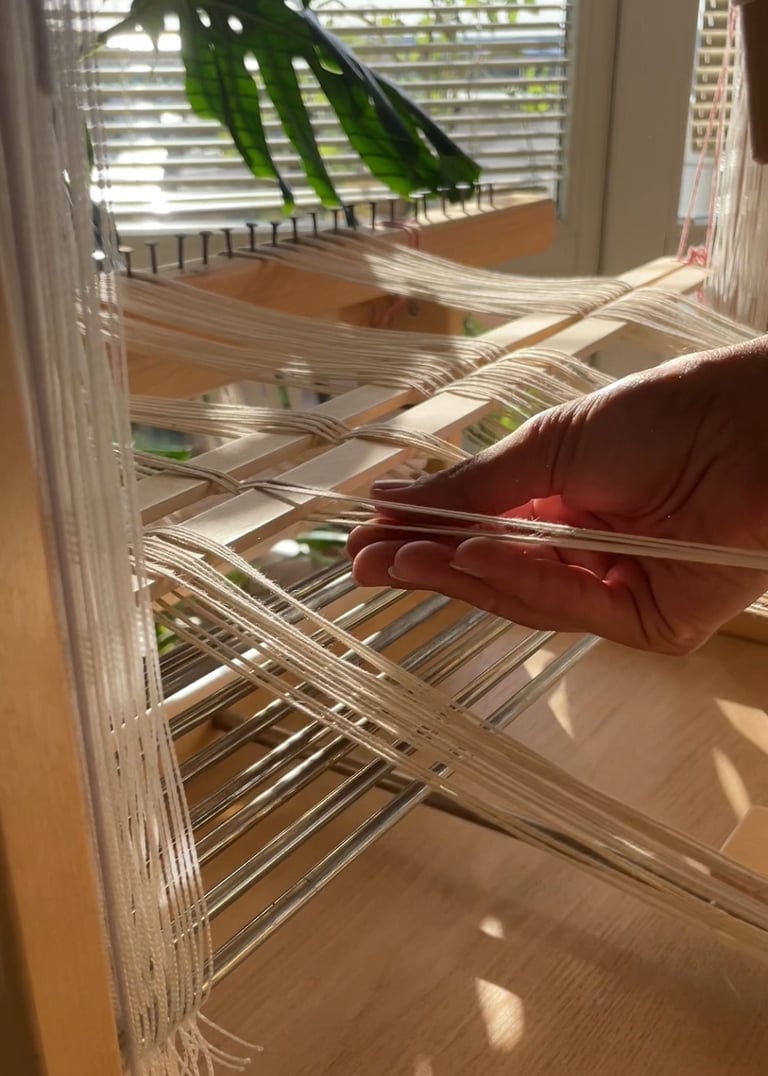
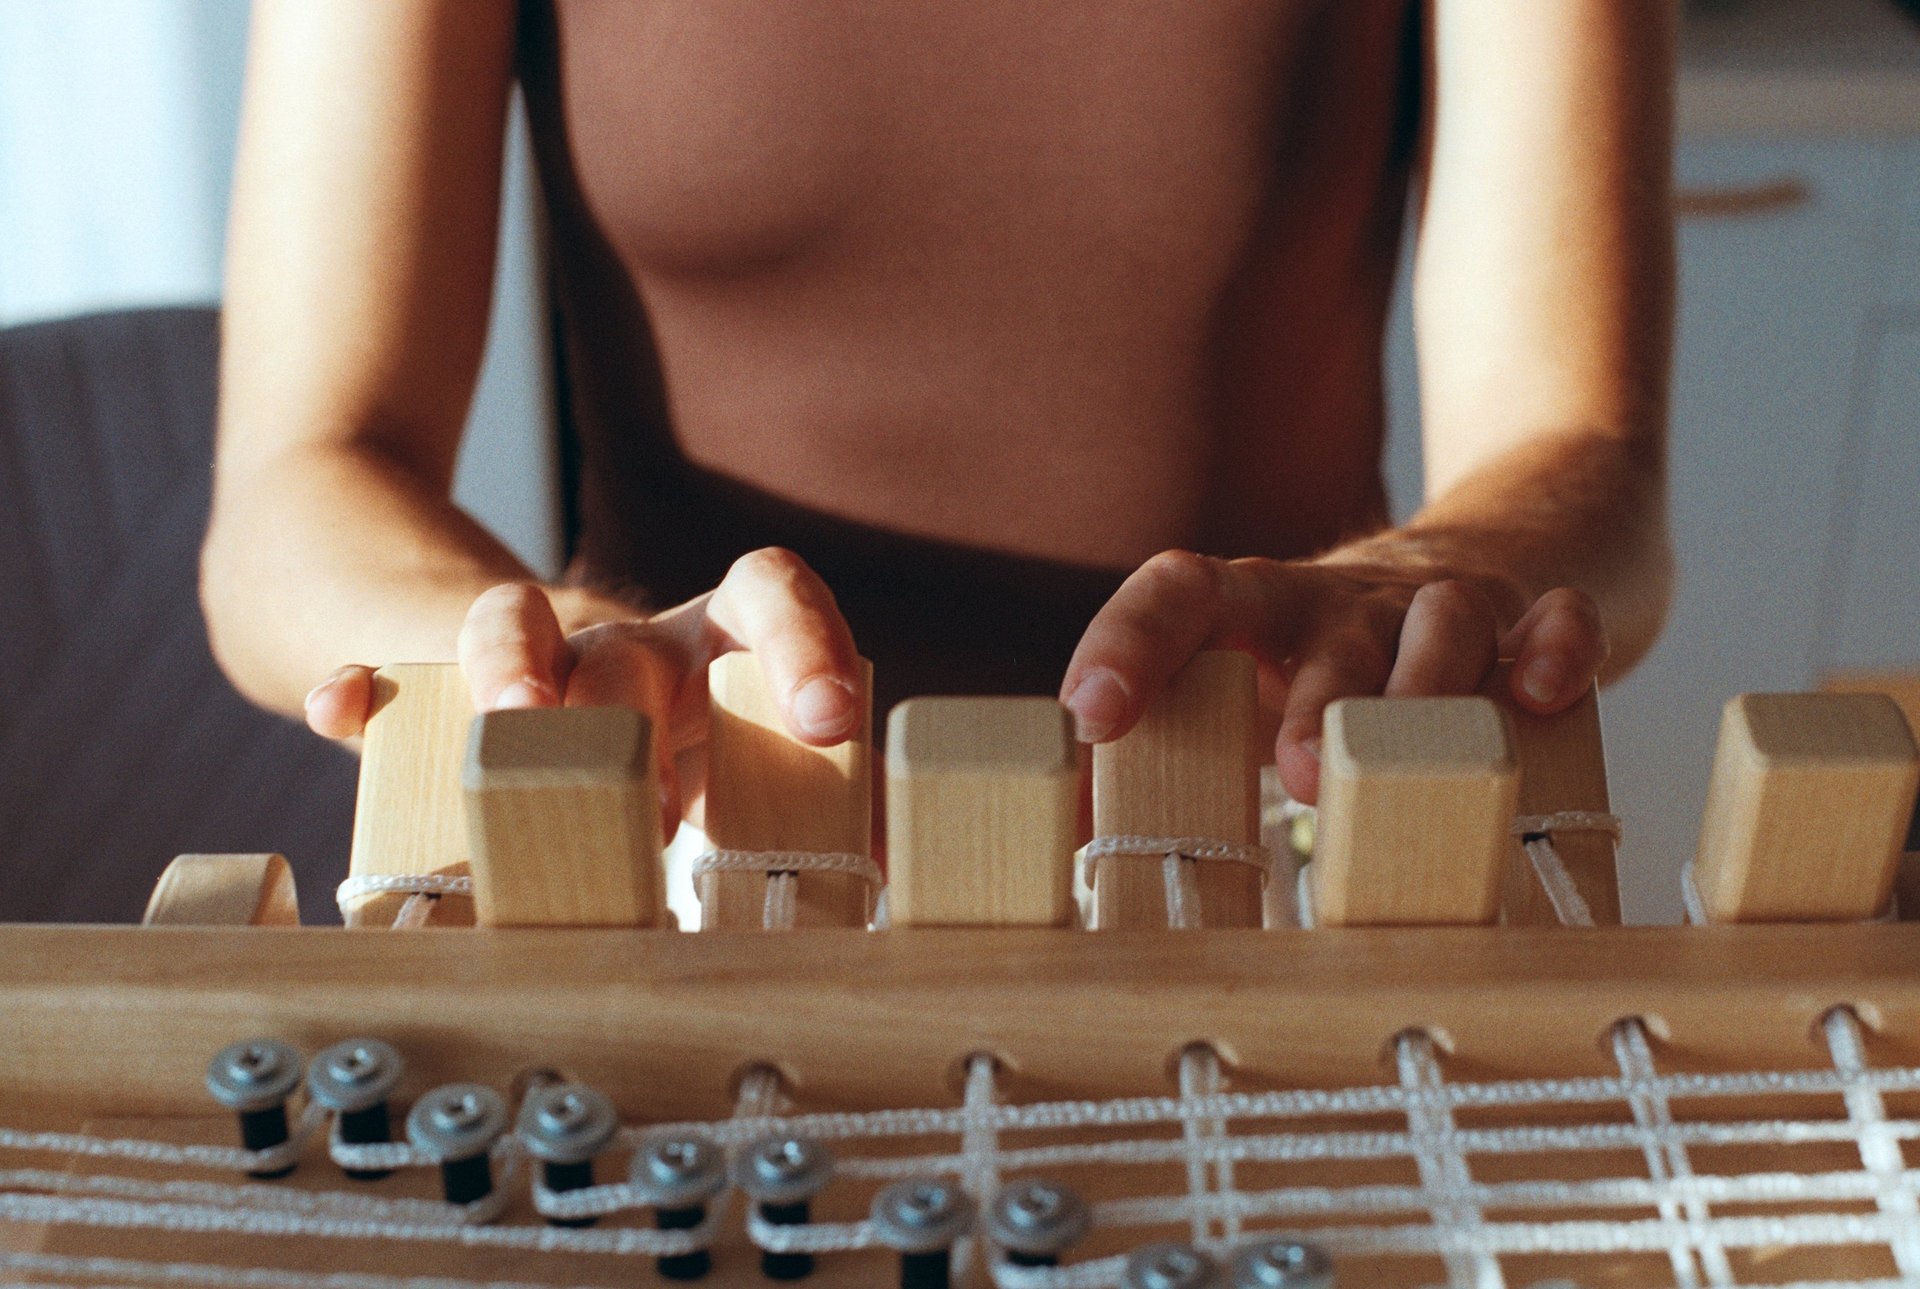
Each warp thread is guided through the heddles, small cords with an eye in the center, attached to the shafts of the loom. The shafts connect to levers or pedals that lift and lower the threads to form the shed, where the weft will pass through. The more shafts a loom has, the more intricate the patterns can become.


After threading, the reed — removed earlier during warping — is reinstalled. The reed acts like a comb, keeping the warp threads evenly spaced at the correct weaving width.
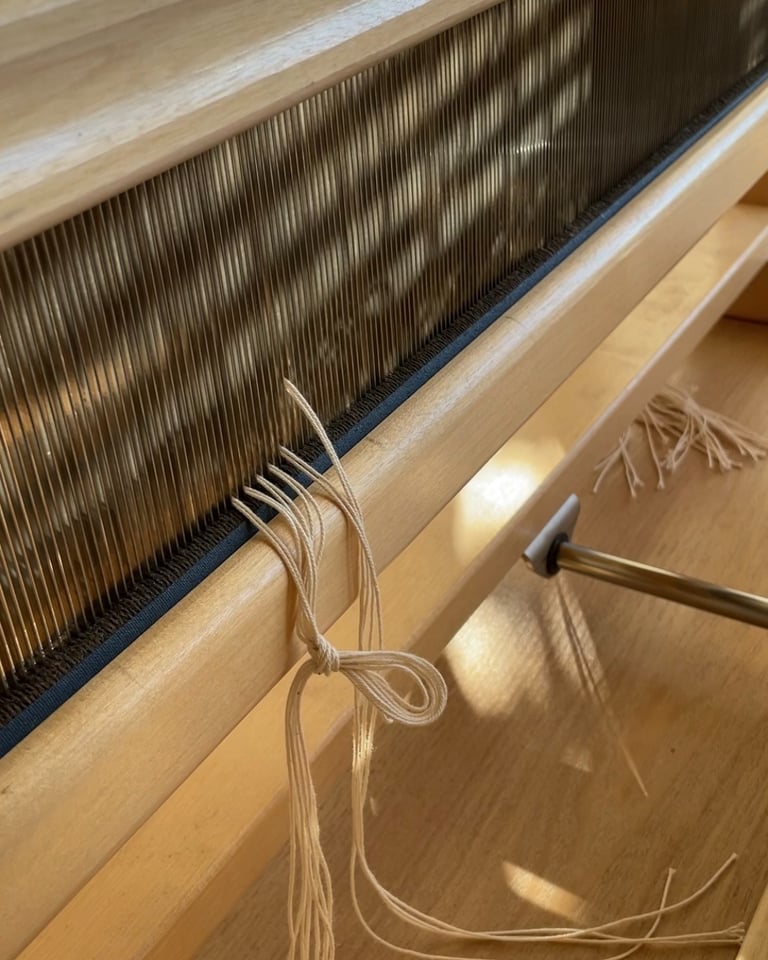

Finally, the warp ends are tied in small, even groups to the front rod. It’s essential to maintain even tension across the width, so I tie each group twice for extra security.
With the warp fully threaded, spaced, and tied — the loom is now dressed and ready for weaving to begin.


On the front of the loom the magic of weaving unfolds.
Weaving is the process of interlacing warp and weft. The weft is the thread that passes through the warp, forming patterns as it moves across the loom. Each pass shapes the fabric, creating texture and structure, bringing the material to life with every pass.
We begin the first few rows inserting toilet paper to spread the warp ends evenly across the width. We use toilet paper because is soft, reusable and a good substitute yarn.
PART 1
MEASURING THE WARP
What is the Warp?
The warp is the set of threads that run vertically on the loom. These threads are held under tension throughout the weaving process, while the weft threads are woven through them horizontally. Because the warp forms the base of the textile, it needs to be prepared with care and precision.
PART 2
WINDIGN THE WARP
PART 3
THREADING AND TYING ON
PART 4
WEAVING
Dressing the loom is the foundation of every weaving. It’s a slow, careful process that prepares the warp — the vertical threads — for the weaving to come. This stage determines the structure, rhythm, and integrity of the final textile.
In this post, I’ll take you through the full process in three parts: measuring, winding, and threading the warp.
PART 1 - MEASURING THE WARP (WARPING)
What is the Warp?
The warp is the set of threads that run vertically on the loom. These threads are held under tension throughout the weaving process, while the weft threads are woven through them horizontally. Because the warp forms the base of the textile, it needs to be prepared with care and precision.
Before any weaving can begin, the loom must be dressed. The first step is warping — measuring the warp threads using a warping board with pegs spaced 90 cm apart. Each thread has a starting point on the left corner, it makes a cross and is wound until desired length and then back up again repeating the path taken in the beginning.
Making the cross is essential because it keeps the threads in order and prevents them from tangling later.

The yarn is wound back and forth between the pegs until the desired number of warp threads is reached — calculated based on the weaving width and the density of threads per centimeter.
Once the warping is complete, it’s secured at three points — the beginning, the cross, and the end — before being removed from the board by looping it onto itself. The warp is then attached to the back rod of the loom, ready for the next stage.
PART 2 - WINDING THE WARP (BEAMING)
With the warp attached to the loom, the next step is beaming — winding the warp threads evenly tensioned onto the back beam.
The warp is divided into groups using a raddle, which has slots spaced every 2 cm, and the lease sticks that hold the cross in place. These tools work together to distribute the warp evenly across the loom’s width while beaming.
Since I often work alone, I use a method called “tug and pull” to keep the tension even. After tensioning across the warp, I insert paper between the layers to keep the threads separated and prevent tangling. Then I wind on two or three rotations of the warp and repeat the process until all the threads are neatly wound on.
Traditionally, this step is done by two people — one maintaining tension and the other winding — but it can be done solo with patience and rhythm.
PART 3 - THREADING AND TYING ON
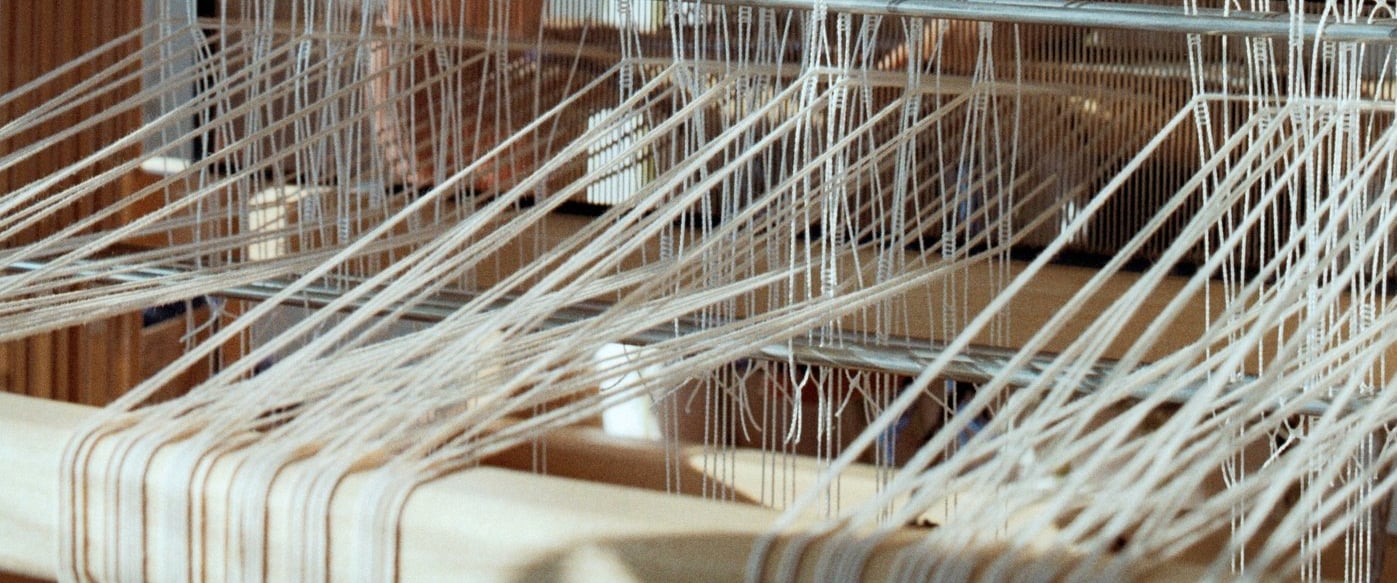
Once the warp is fully wound, it’s time for threading and tying on — the final stages before weaving begins.
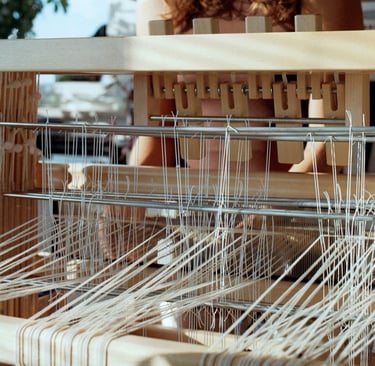
Each warp thread is guided through the heddles, small cords with an eye in the center, attached to the shafts of the loom. The shafts connect to levers or pedals that lift and lower the threads to form the shed, where the weft will pass through.
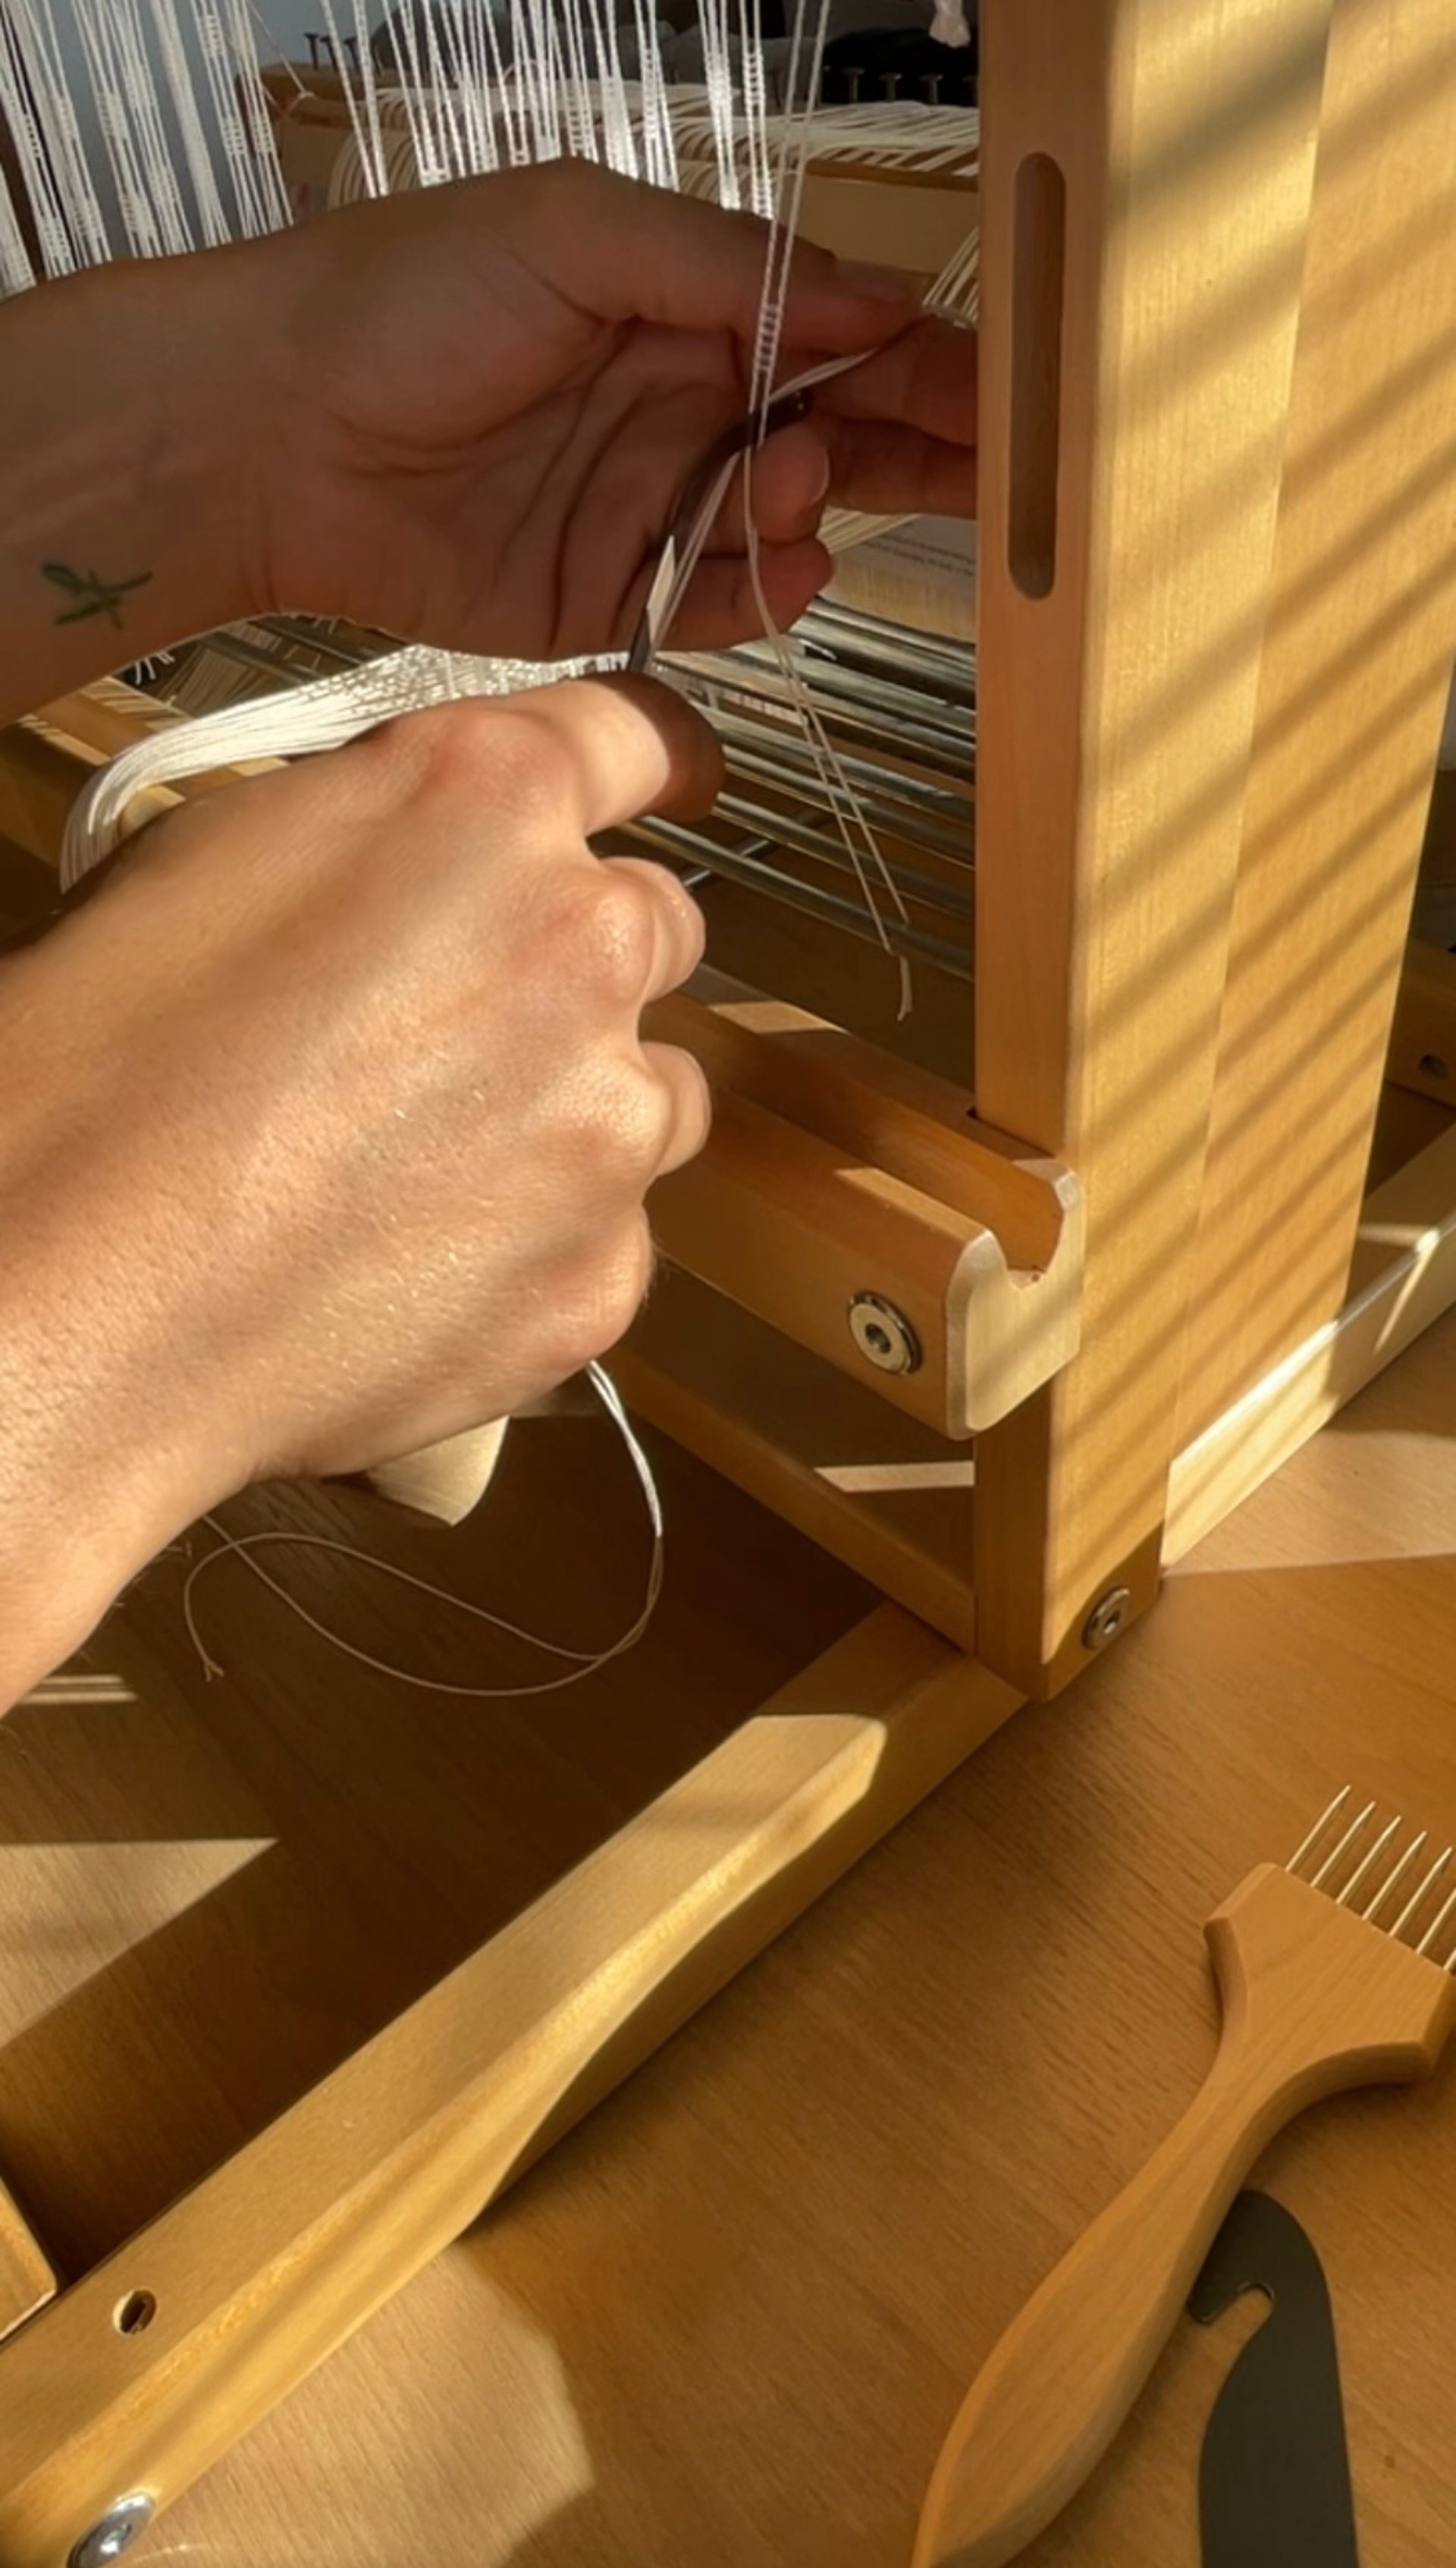
Here, I’m working on an eight-shaft loom, which offers a wide range of design possibilities. The more shafts a loom has, the more intricate the patterns can become.
After threading, the reed — removed earlier during warping — is reinstalled. The reed acts like a comb, keeping the warp threads evenly spaced at the correct weaving width.
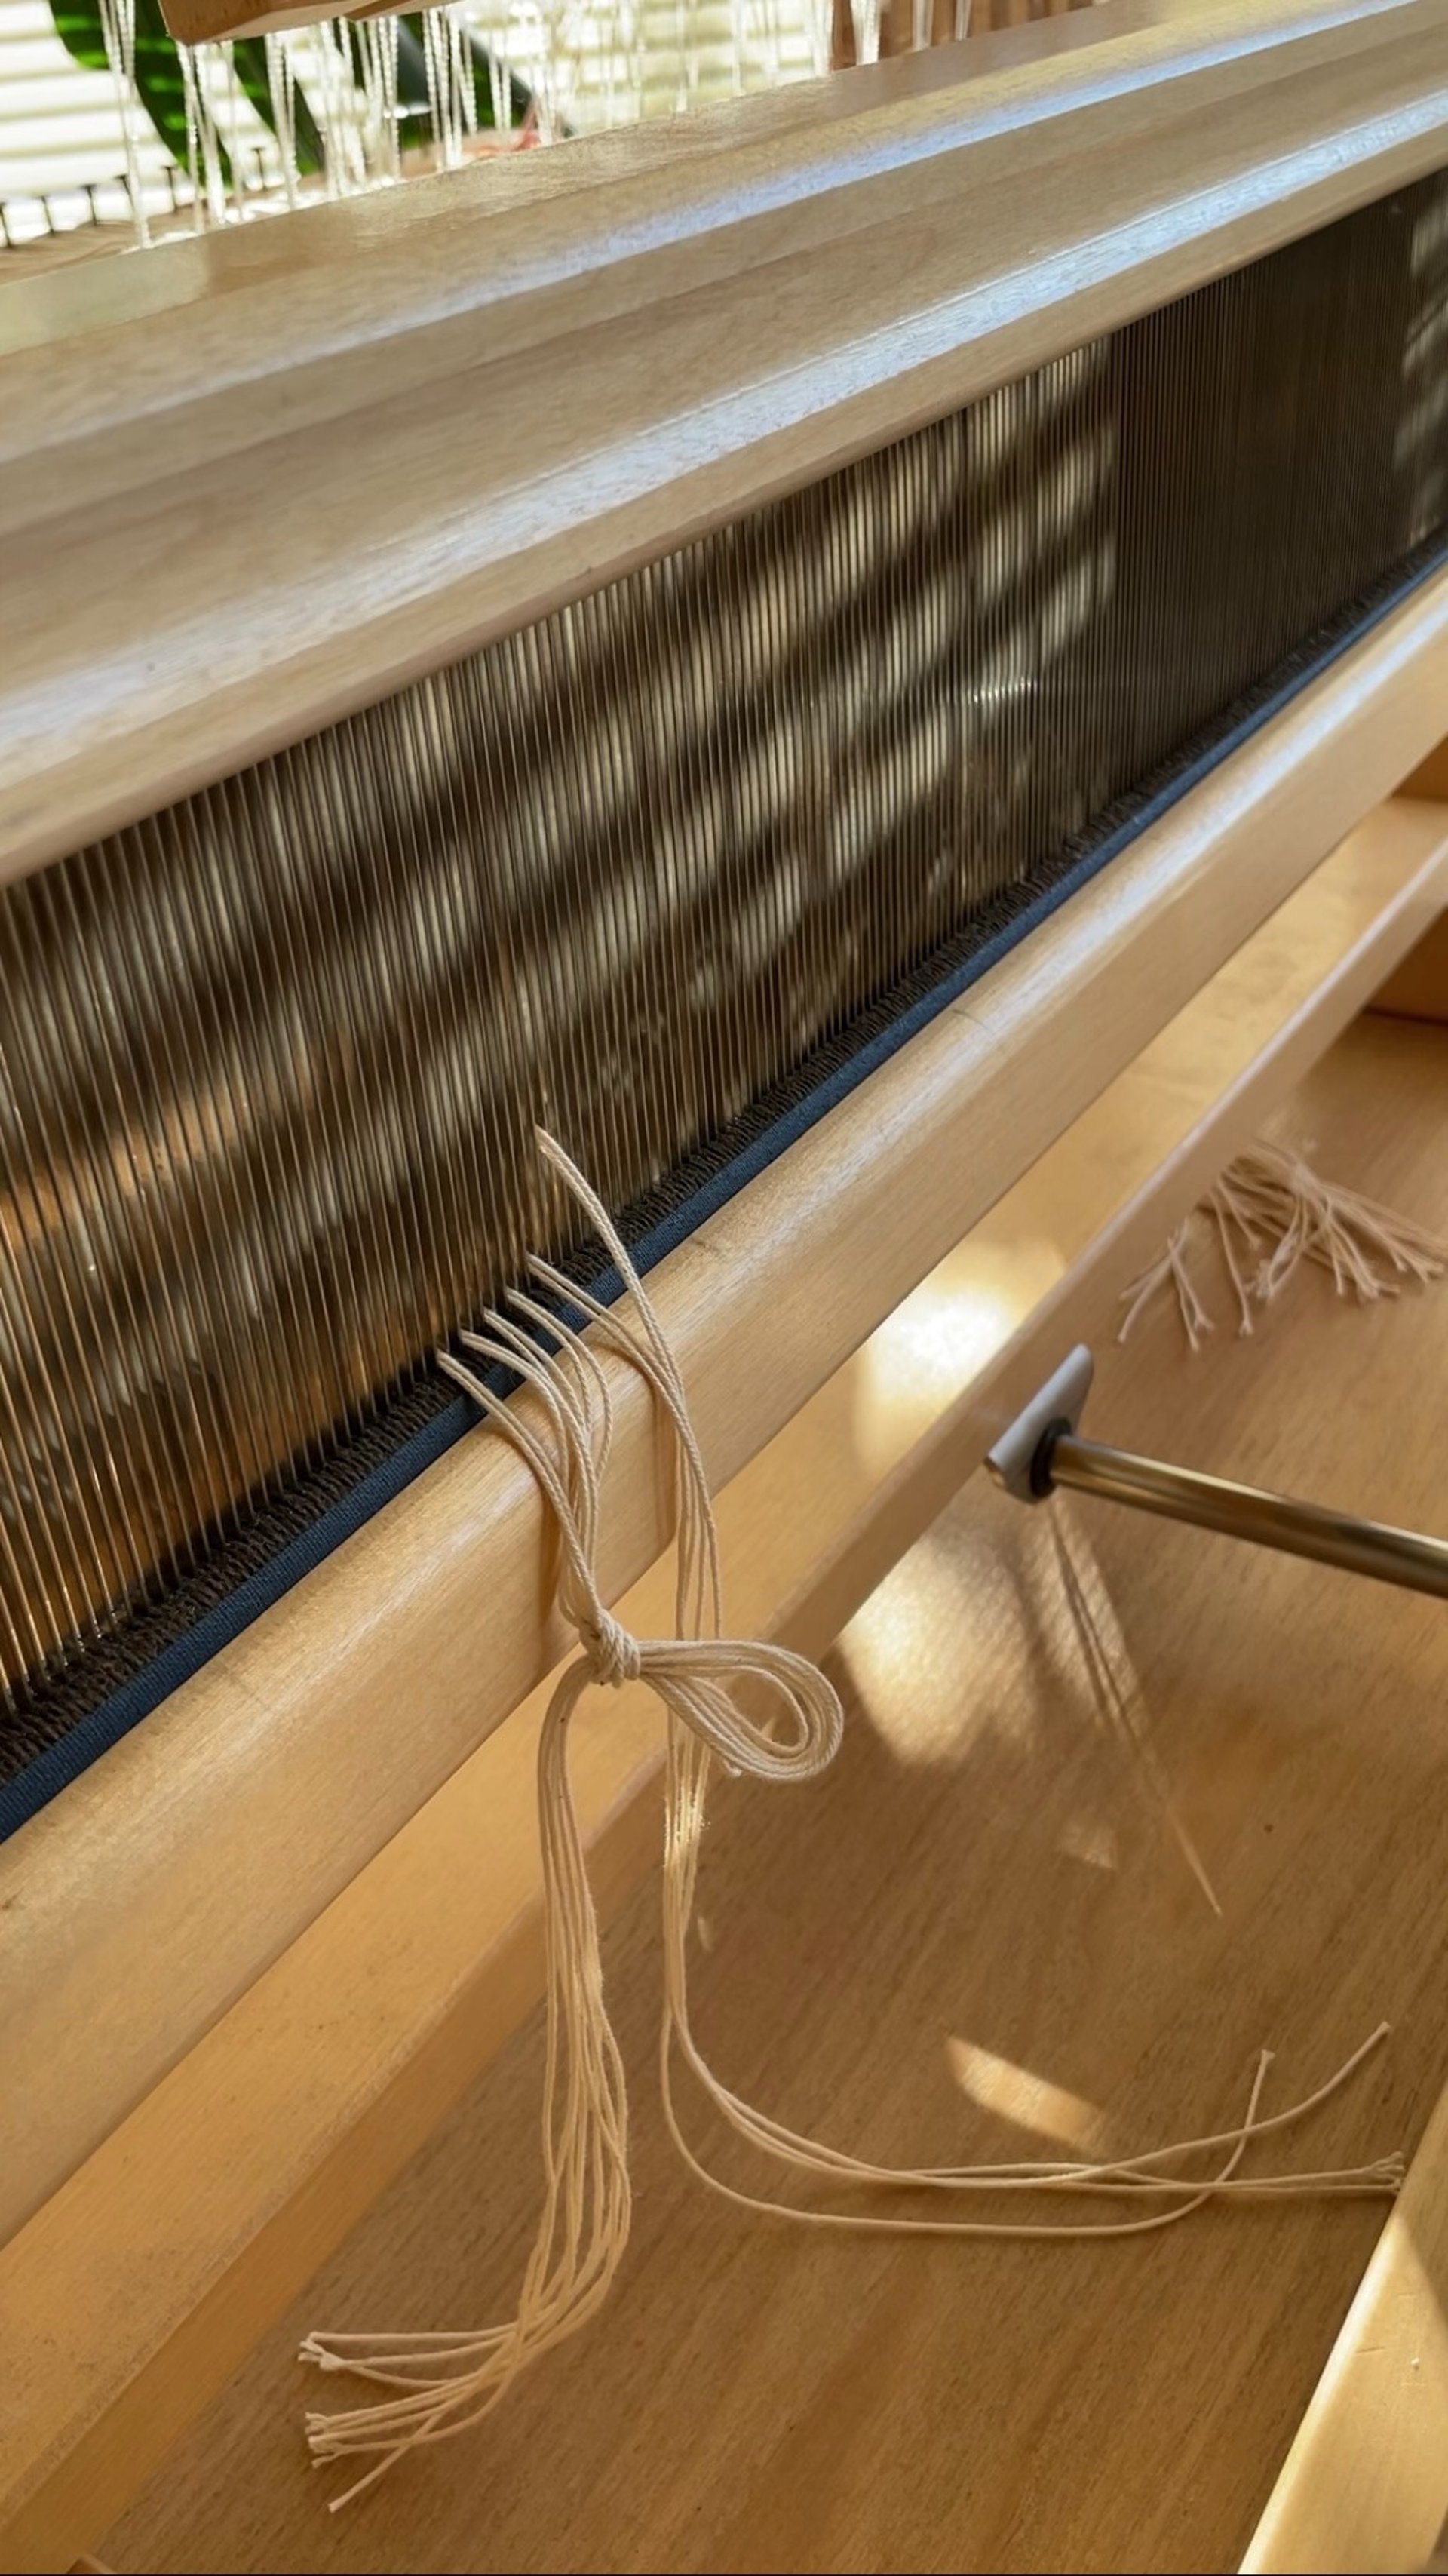
Finally, the warp ends are tied in small, even groups to the front rod. It’s essential to maintain even tension across the width, so I tie each group twice for extra security.
With the warp fully threaded, spaced, and tied — the loom is now dressed and ready for weaving to begin.
The Rhythm of Preparation
Dressing the loom is an intimate, meditative process — one that invites slowness and attention. Each stage builds on the last, creating balance and order before the creative flow of weaving begins.
From the first thread to the moment the shuttle moves through the warp, it’s a quiet ritual that connects maker, material, and loom.

You can watch the whole process on our instagram feed, made into three video parts.
STAY INSPIRED AND SUSTAINABLE
Join our email list to be notified about the latest products!